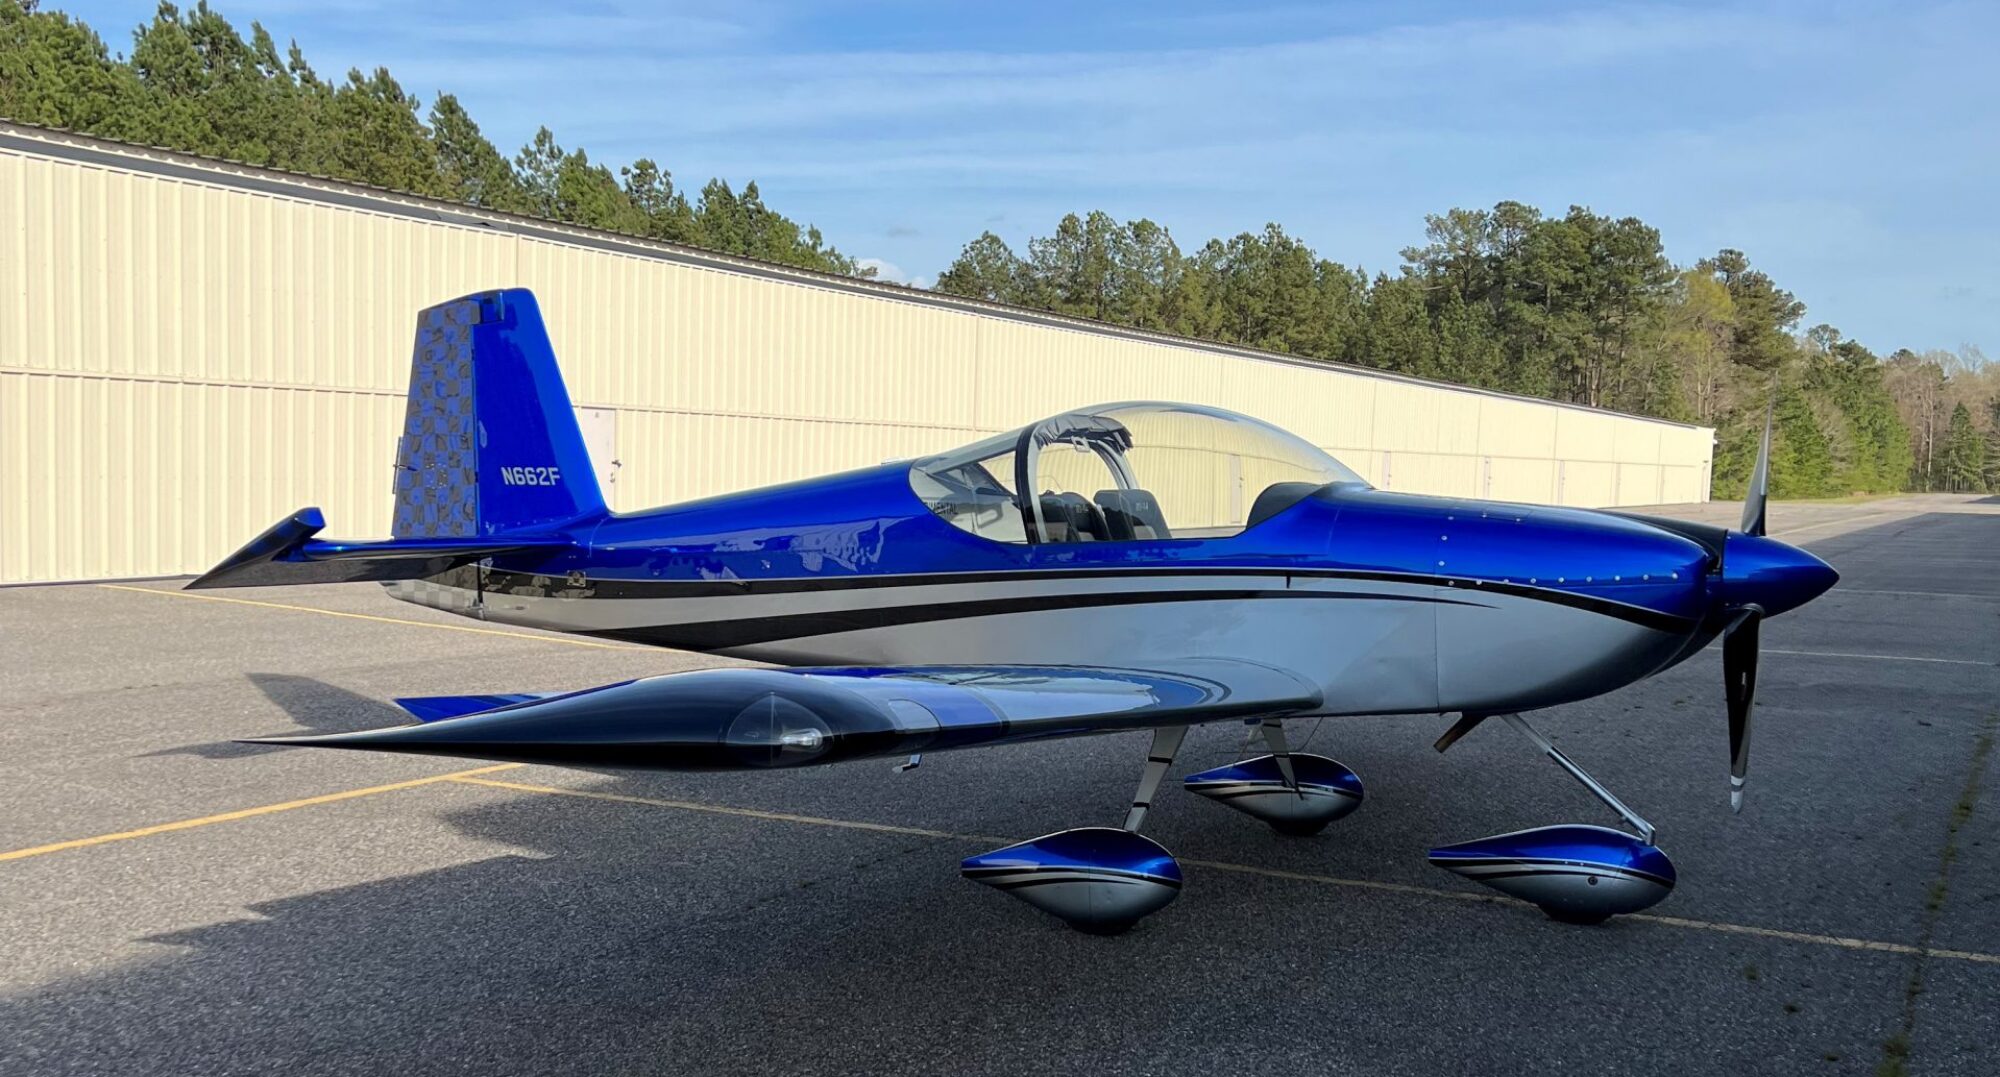
The RV-14A is an almost perfect airplane. I loved everything about it. It was fun and (reasonably) easy to build. It is a joy to fly. So WHY did I sell it you may ask.
The answer is pretty simple. It was worth significantly more than I had spent to build it. I had several offers to buy it and I took one. I really liked the gentleman that bought it and we have kept in touch since he bought it in May 2025. We even had dinner together at Osh Kosh. He told me that he absolutely loved the RV-14A. He said that his favorite things about it were that it did many of the things that his Bonanza did, was just as fast and way cheaper to own. By the way, he was the president of the American Bonanza Society.
As part of the sale of the airplane, we agreed that I could keep the N662F tail number and he would change the airplane to N662E. I will have a whole post on how difficult that was to do (mostly due to the incredibly obtuse and inefficient paperwork system that the FAA has created).
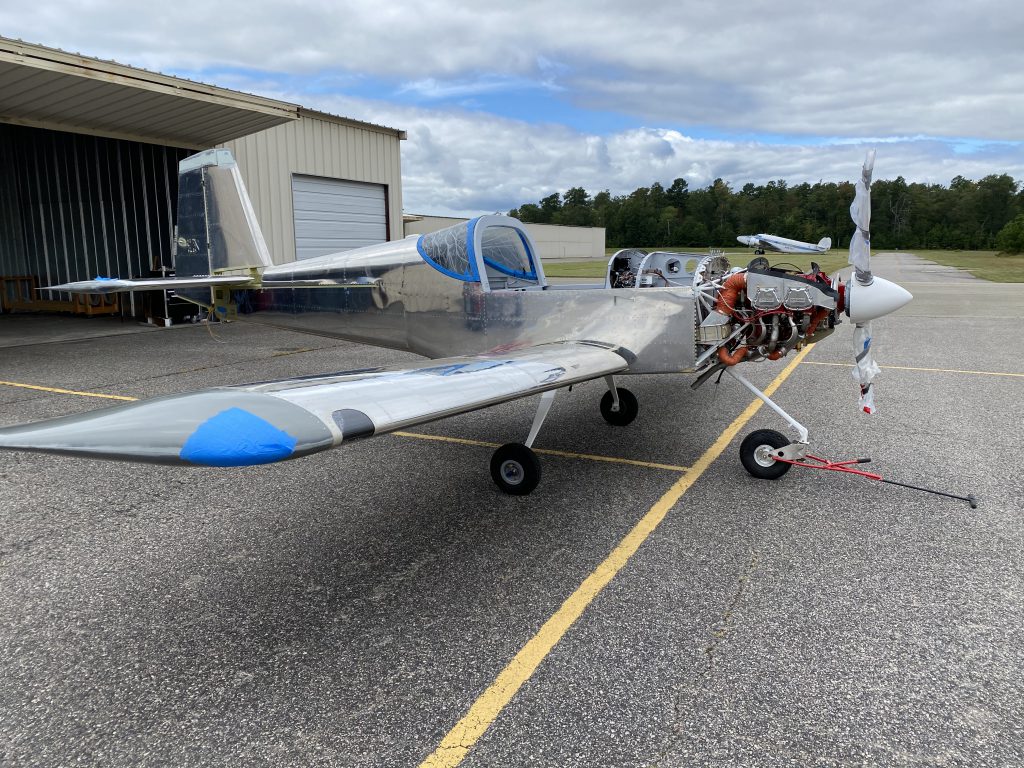
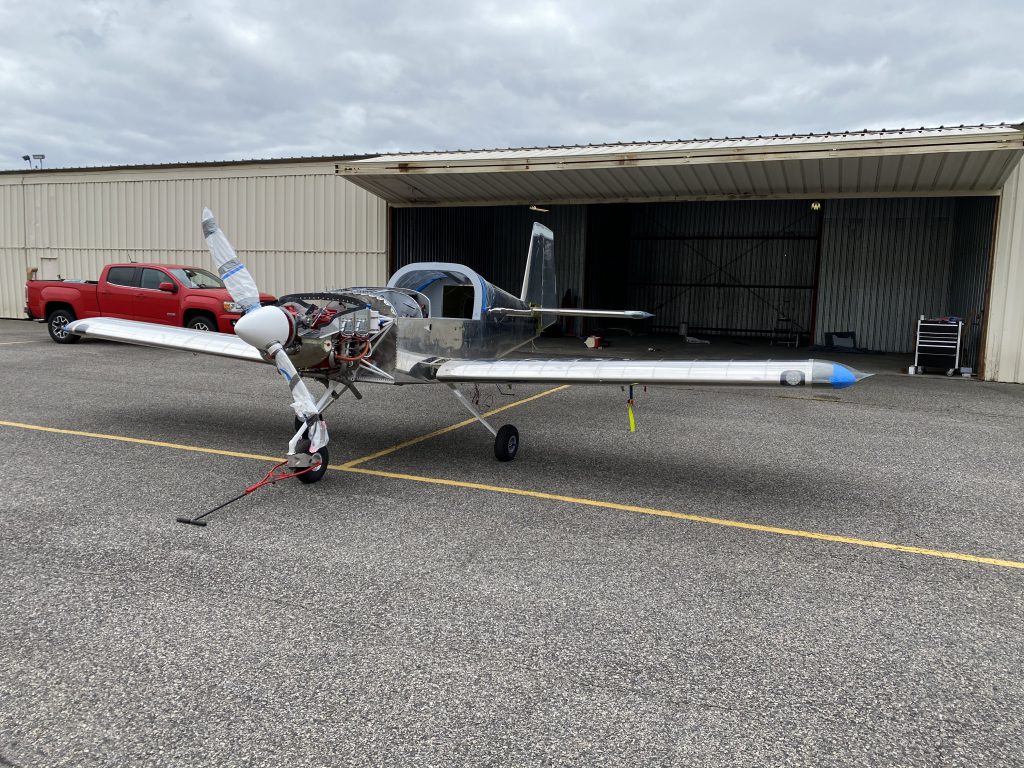
I flew about 300 hours in the RV-14A over a bit shy of four years. Let me repeat: it is a great airplane. So great that I convinced a good friend to start building one.
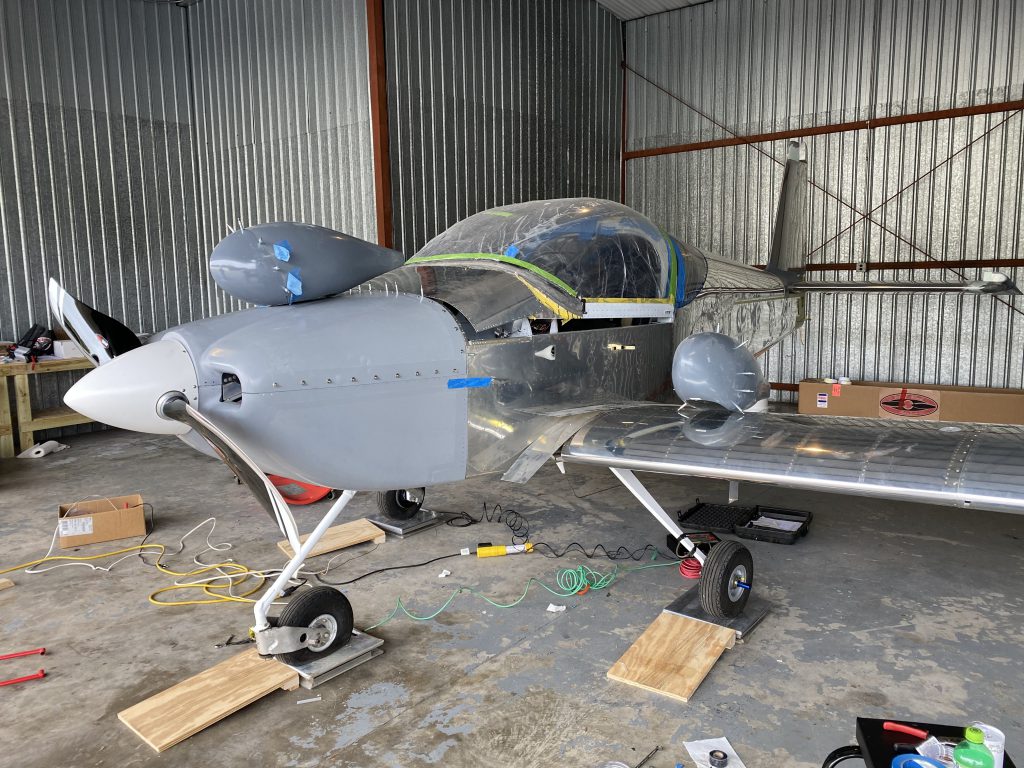
Within weeks of selling my RV-14A, I agreed to buy a brand new RV-10 from the builder in Kentucky. Most of my posts moving forward will be about the RV-10 which will have the same N662F tail number.