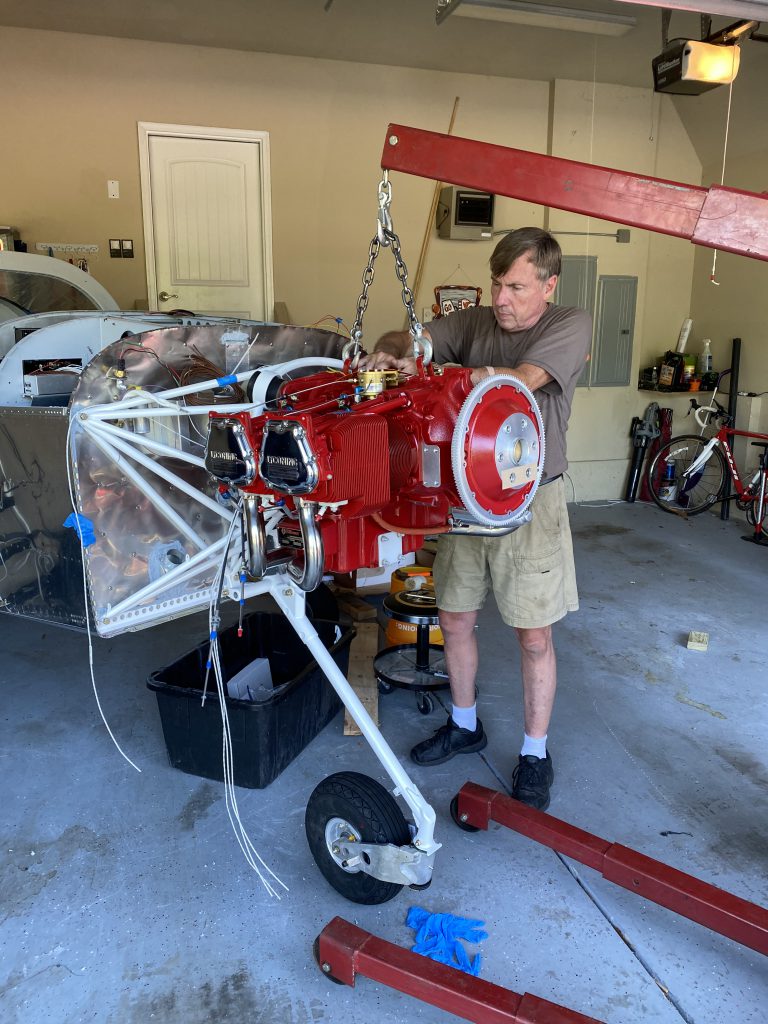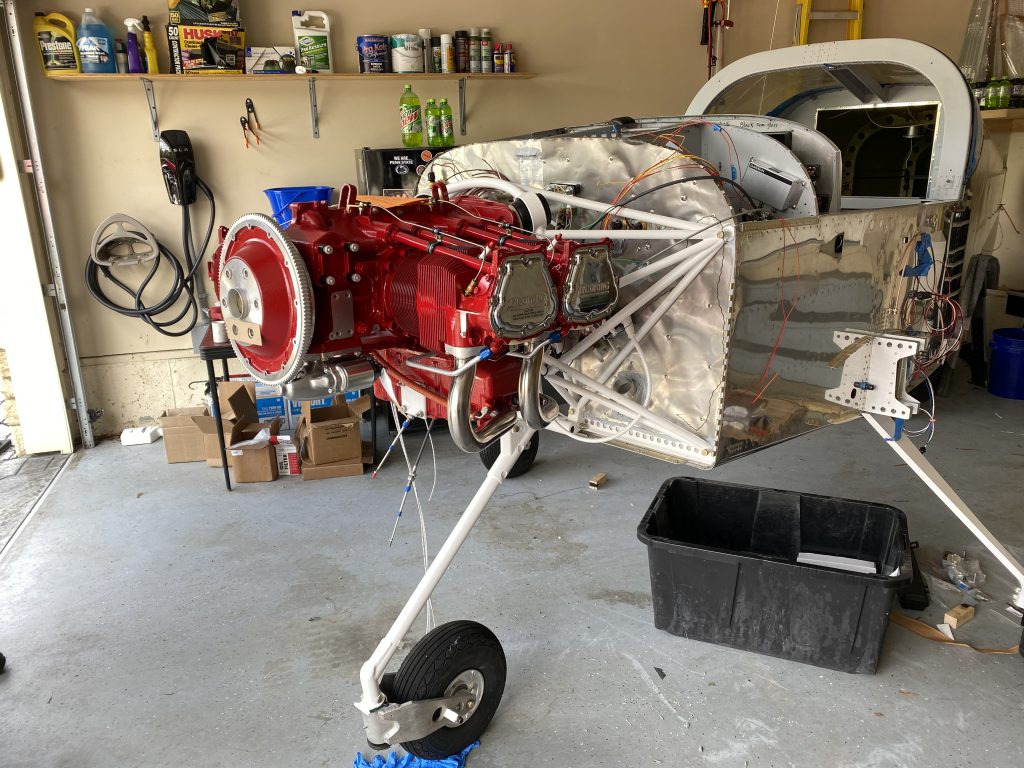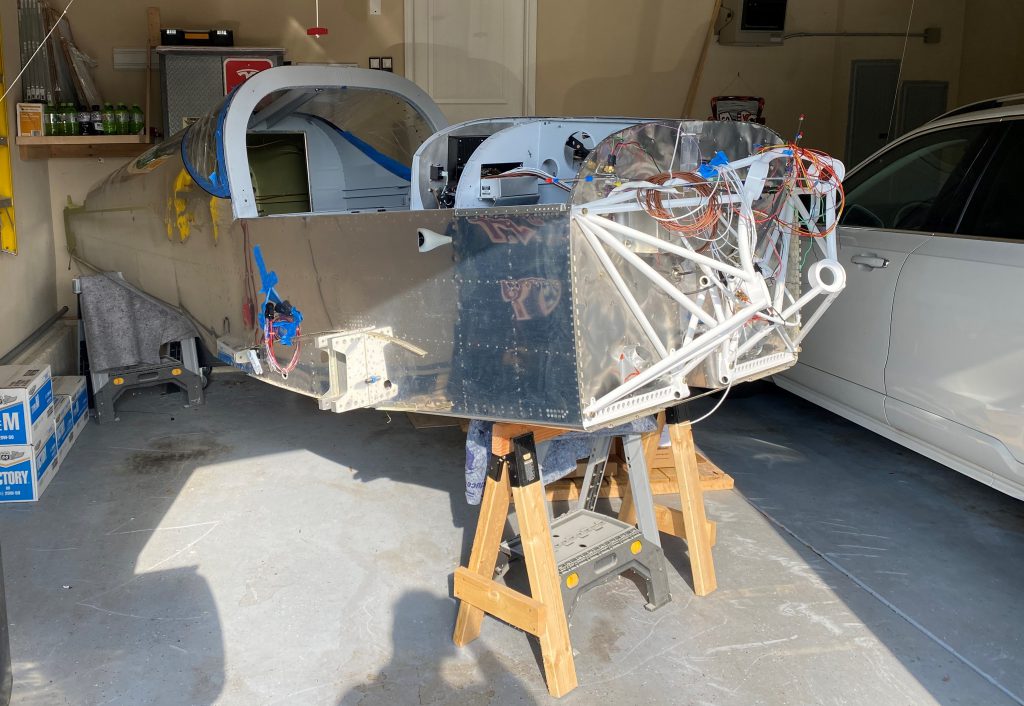
Dad and I have spent three days working on the hoses and wiring for the engine.
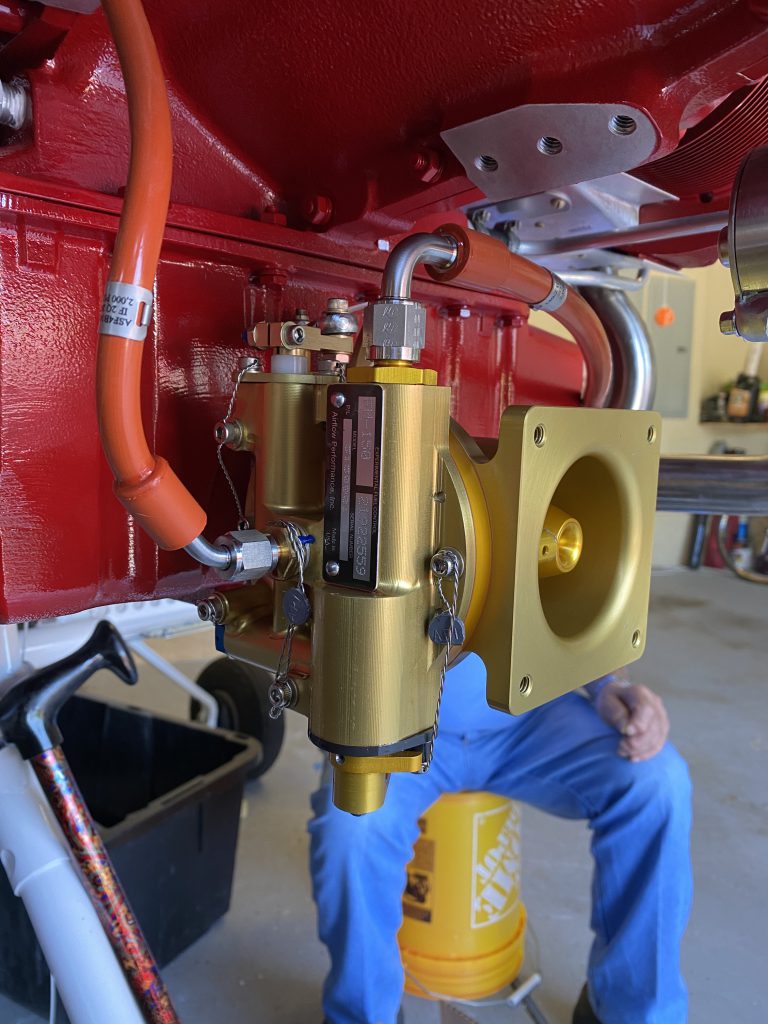
I would guess we are about half way done now. As usual, we are slowed a little by needing to order parts or supplies. For example, the FM-150 requires you to remove the fuel servo mounting bolts and replace them with longer ones. They thoughtfully supply the longer bolts with their servo, but want you to use Loctite 620 on the new bolts — not available locally.
So here is what we have done:
Primary Alternator, installed and wired. Minor cable management and final adjustments left.
Starter wiring is nearly complete. The primary power wire (2 gauge) is in place, terminated and torqued. The smaller wire from the starter solenoid still needs to be terminated.
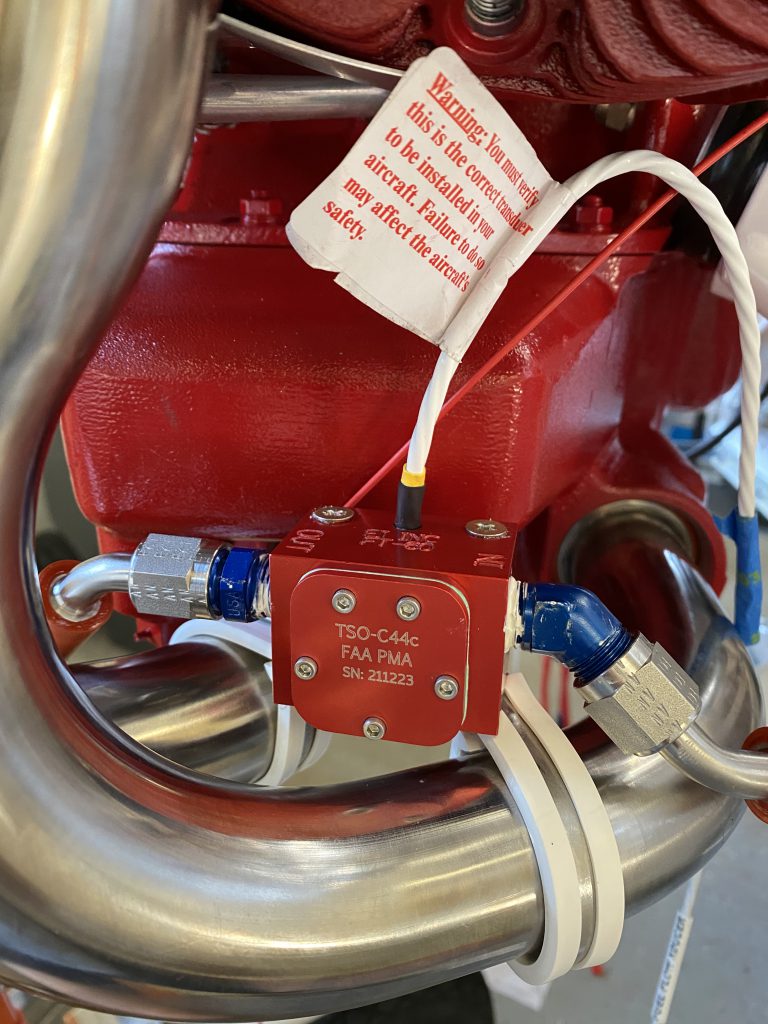
FT60 Red Cube fuel flow transducer installed. Still need to do final wiring and torque hose fittings.
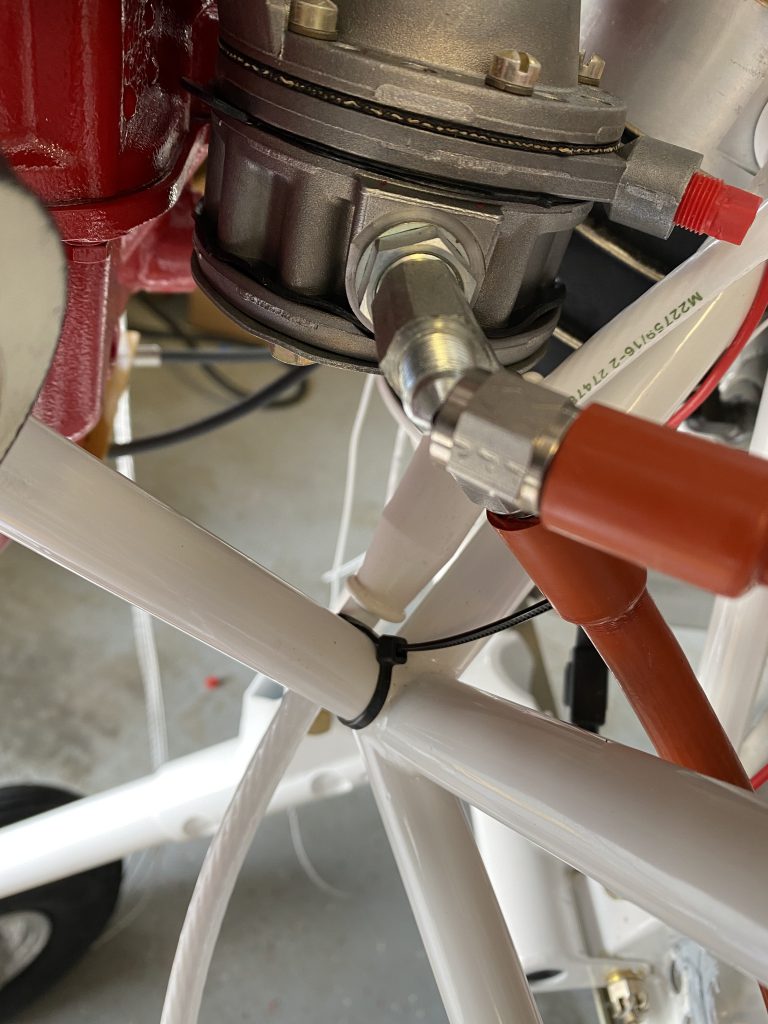
Fuel lines (from firewall to fuel pump, to fuel pressure sensor, to FT-60, from FT-60 to FM-150, from FM-150 to spider) partially done. Waiting on a part from Van’s Aircraft.
Oil lines (to/from cooler, to oil pressure sensor) partially done.
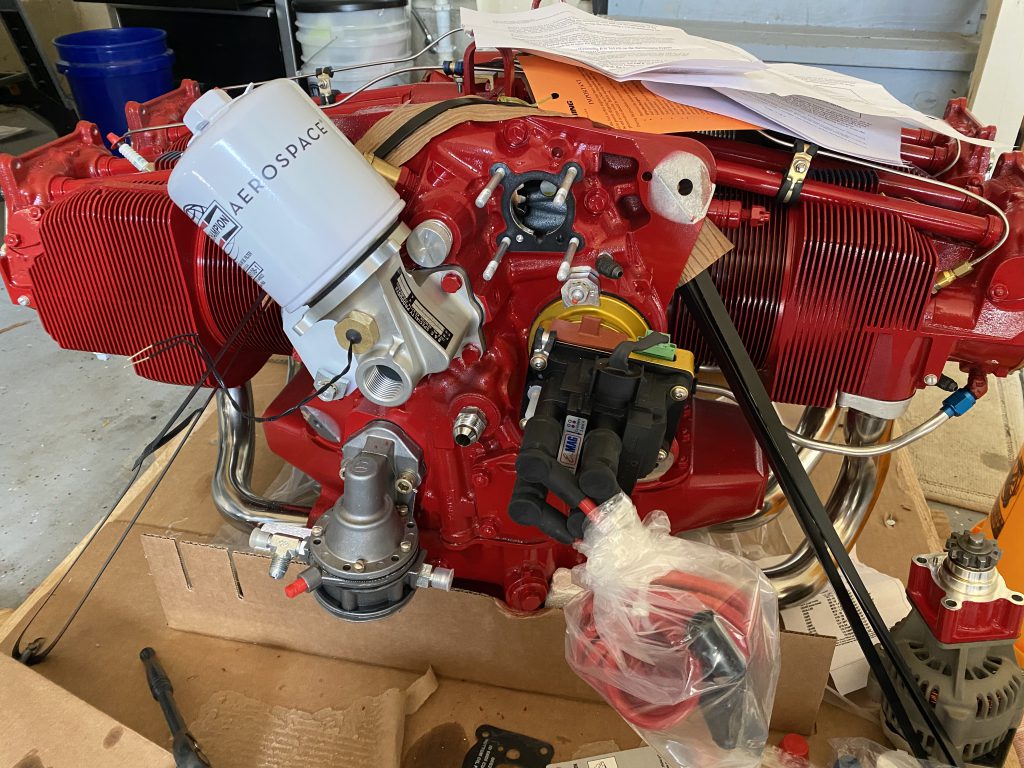
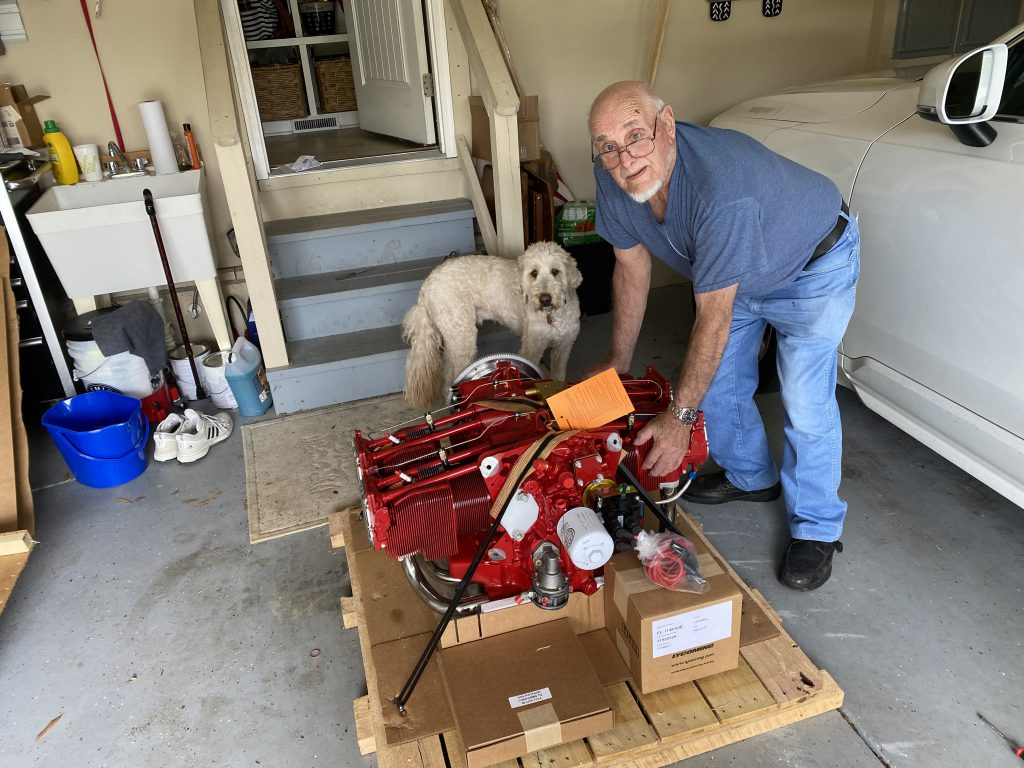
Secondary Alternator – done then undone. I decided to re-clock it to ensure the power lug is not too near another component. Now I need a new gasket — on its way from Spruce.
Oil cooler – shelf is installed. Oil cooler assembly is mostly done, but still on the bench down stairs. I want to get the right P-Mag installed before I put this in place.
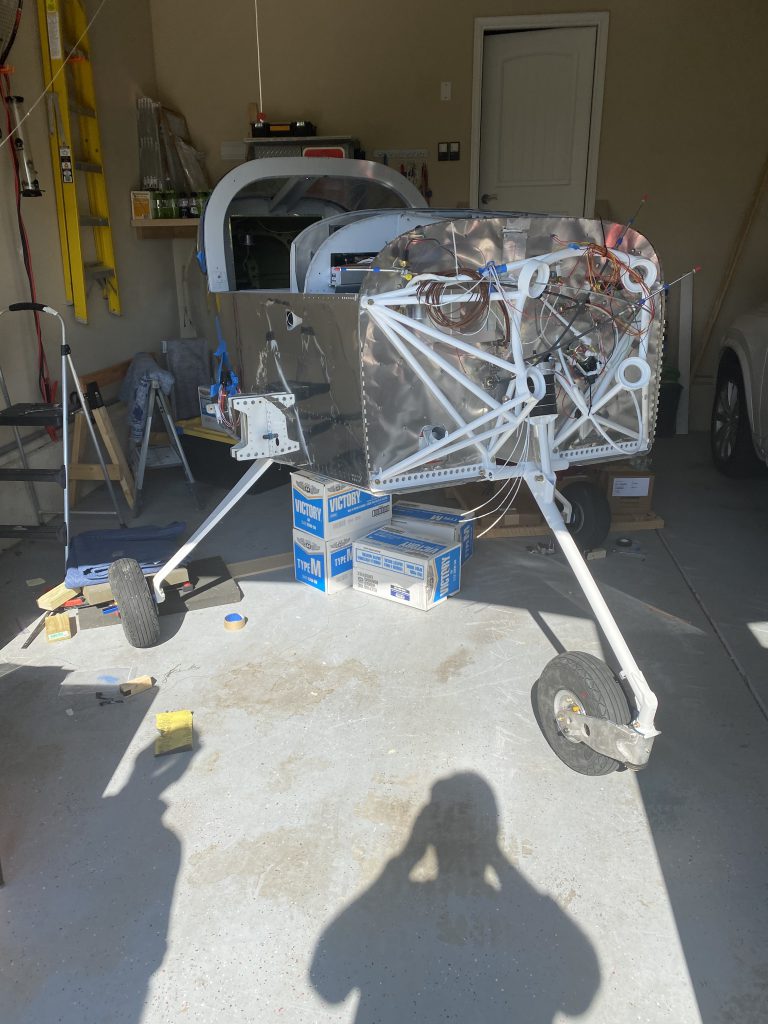
Major things left to do:
P-Mags, lots of butt splices, propeller and propeller governor, exhaust system, firewall penetration firesleeving, more adel clamps then I care to think about.
30 hours (2 people x 15 hours).